|
1. Enable virtualization on your computer. A quick Google search for "enable
virtualization" for your version of Windows will give you the instructions you need.
|
|
2. Download the Ubuntu Server 16.04.3 LTS release that matches your
architecture: 32-bit or 64-bit.
|
|
3. Download PuTTY: 32-bit or 64-bit.
|
|
4. Download and install VirtualBox.
|
|
5. Create somewhere on your disk a directory named "osvm", which will
accessible from the Linux virtual machine you are about to install.
|
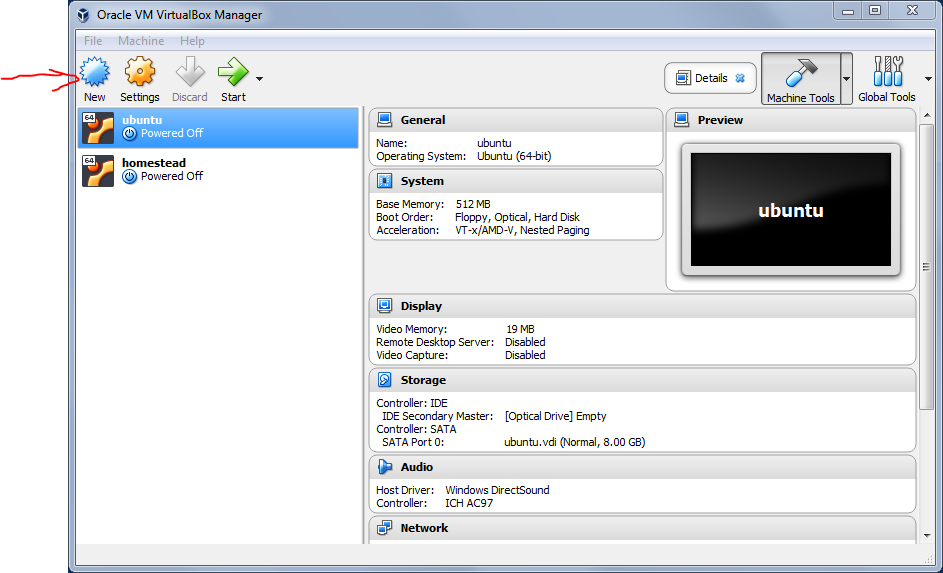
6. Open VirtualBox and click "New".
|
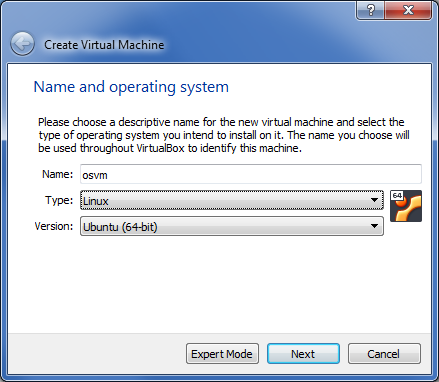
7. Make the selections as shown in the image. If you will be using 32-bit
Ubuntu, select the version accordingly. Click "Next".
|
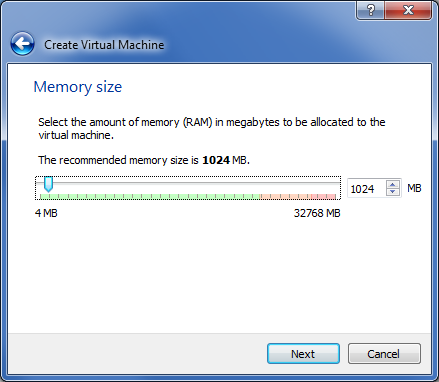
8. Keep the defaults suggested by VirtualBox, then click "Next".
|
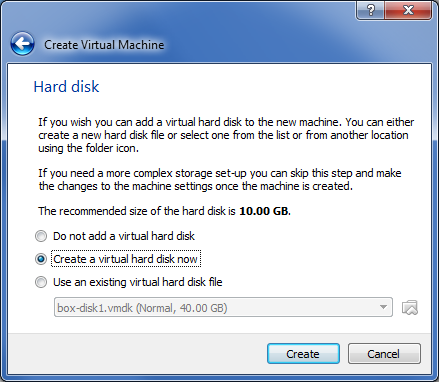
9. Make the selections as shown in the image, then click "Create".
|
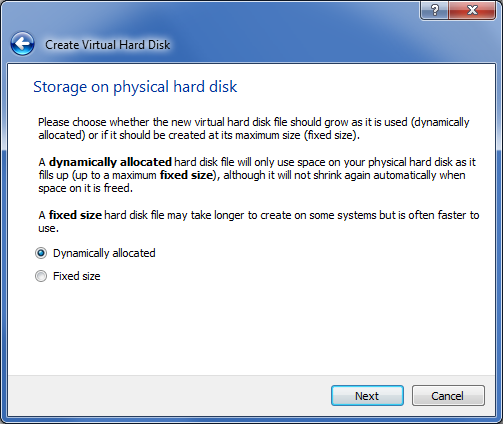
10. Make the selections as shown in the image, then click "Next".

|
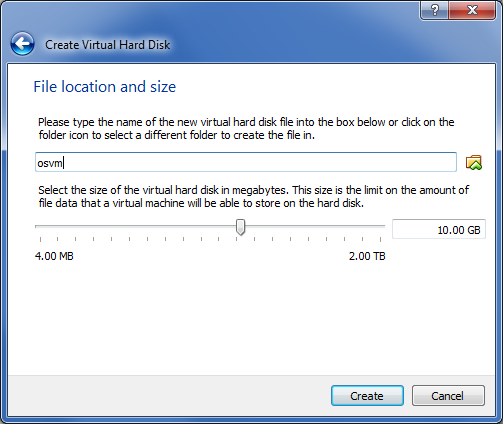
11. Make the selections as shown in the image, then click "Next".
|
12. Keep the defaults suggested by VirtualBox, then click
"Create".
|
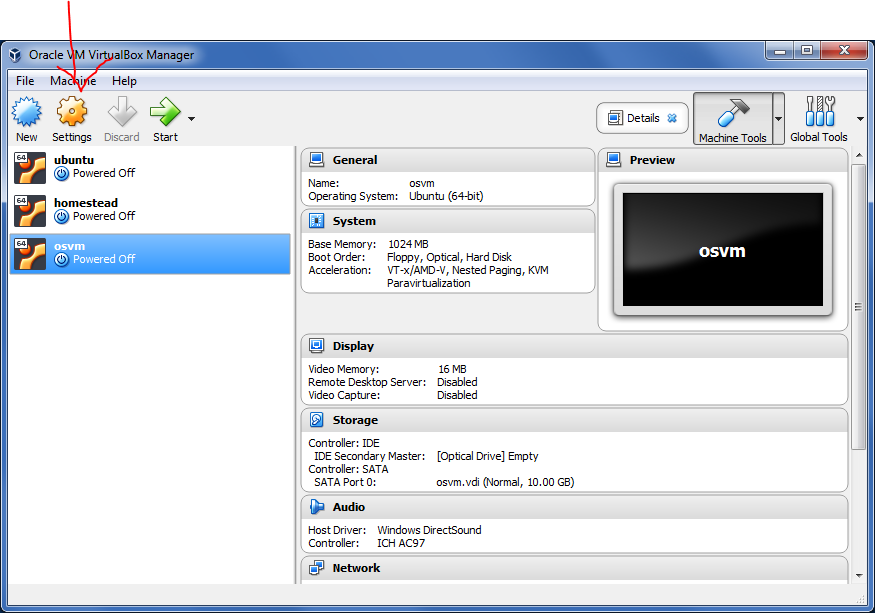
13. Select the newly created virtual machine and then click "Settings".
|
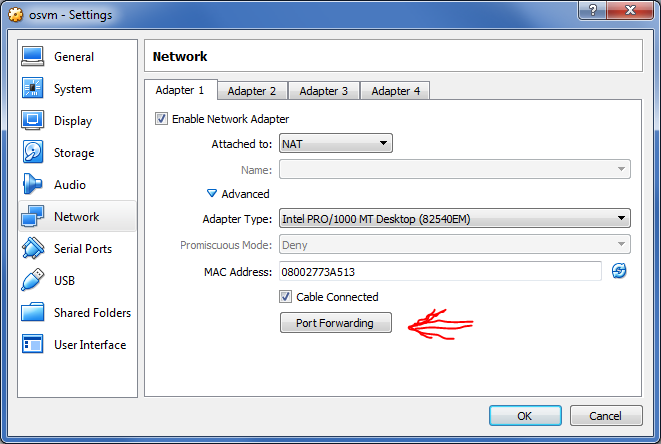
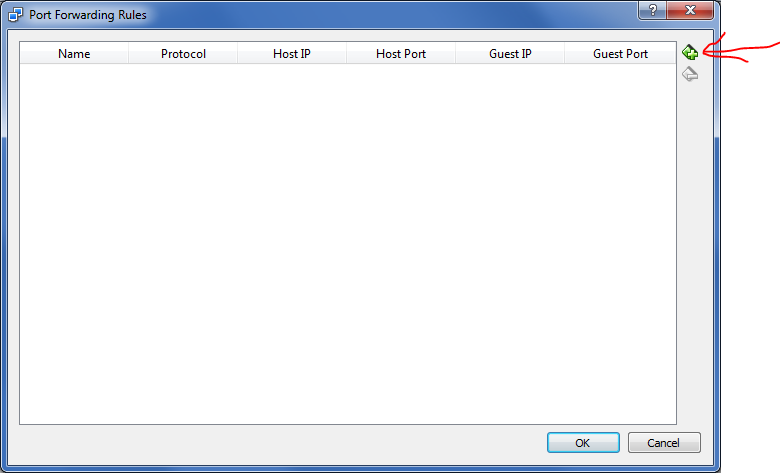
14. Select "Network" and then click on "Port Forwarding"
|
15. Click the plus button
|
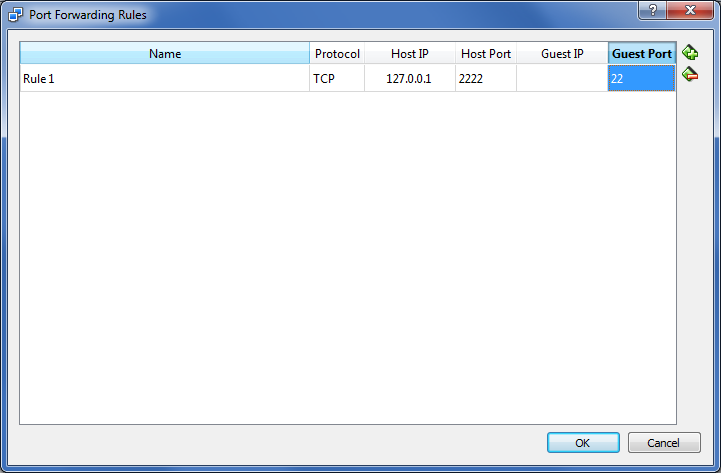
16. Populate the values shown in the image, then click "OK"
|
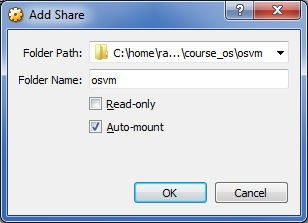
17. Select "Shared Folders" and then click on the plus button

|
18. Put in the "Folder Path" field the full path to the folder you created
earlier. Make the other selections as shown and then click "OK"
|
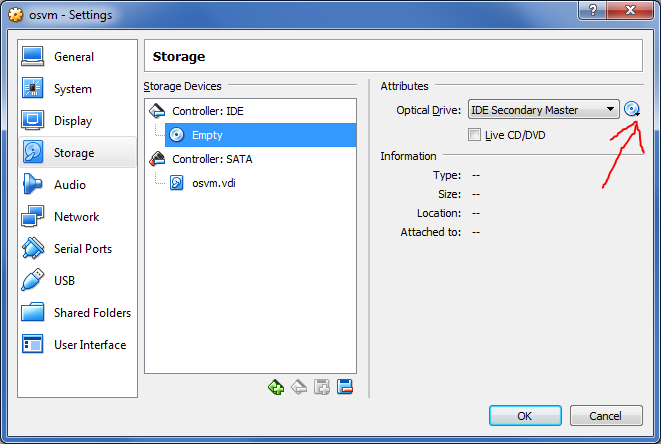
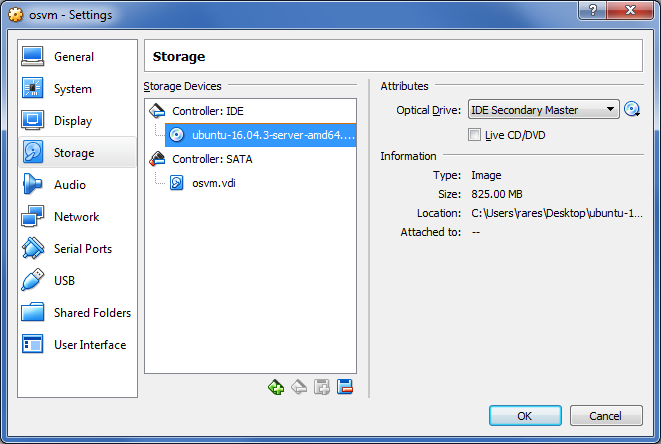
19. Select "Storage" and then click on "Empty" and then click on the CD
button.
|
20. In the opening menu, click on "Choose Virtual Optical Disk File..." and
select the Ubunto ISO file you downloaded earlier. Then click OK.
|
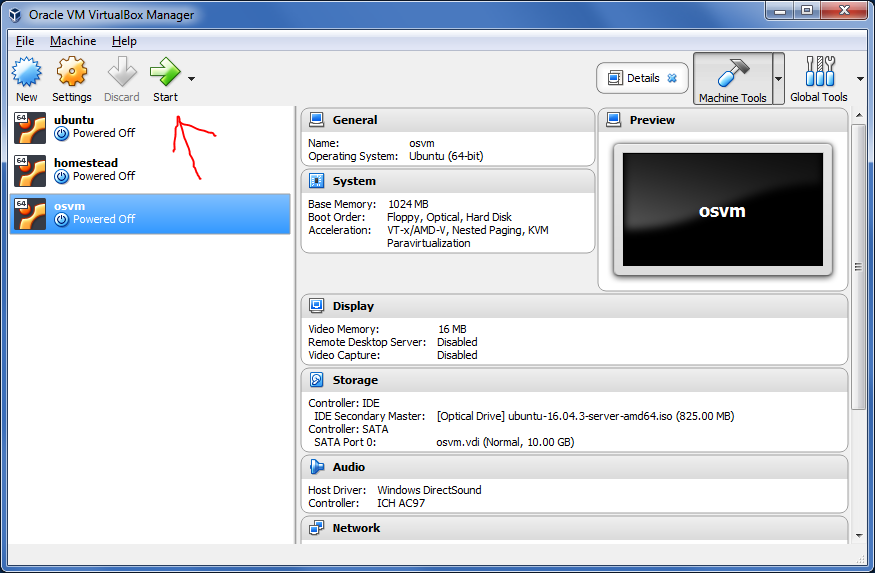
21. Start the virtual machine.
|
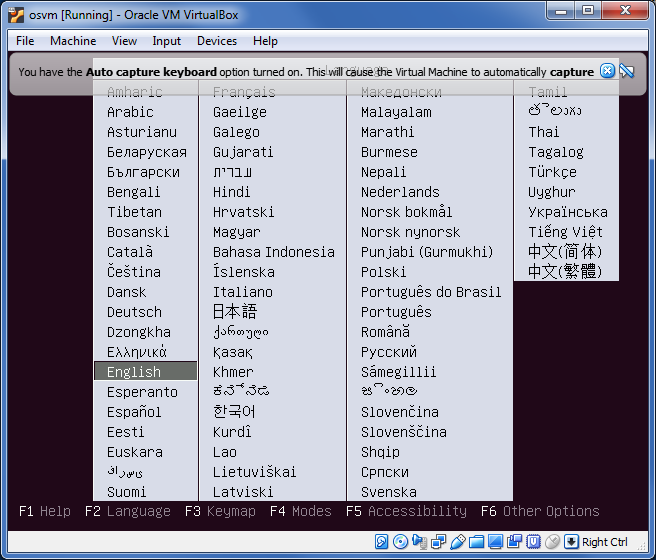
22. Click in the new window. It will capture your mouse. To free the mouse,
press the Ctrl key on the right side of the space bar. After the installation begins, the mouse will be
release automatically when you move it outside the window. You will interact with the installer using only
the keyboard. Select the installer language using the arrows, and then press Enter.
|
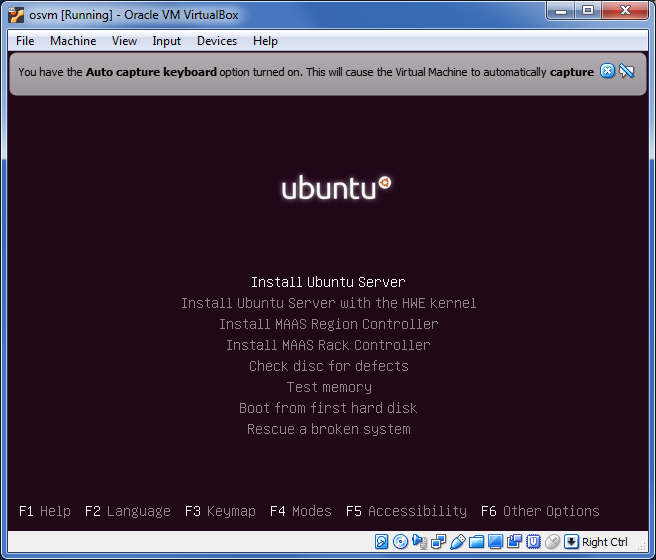
23. Press Enter to Install Ubuntu Server.
|
24. Select the operating system language using the arrows, then press
Enter

|
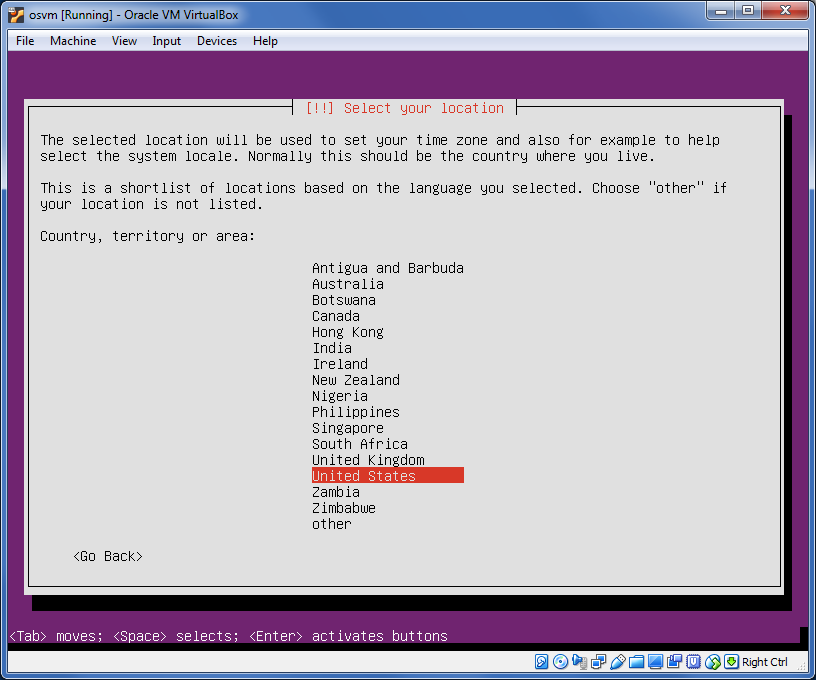
25. Make the selections as shown, then press Enter.
|
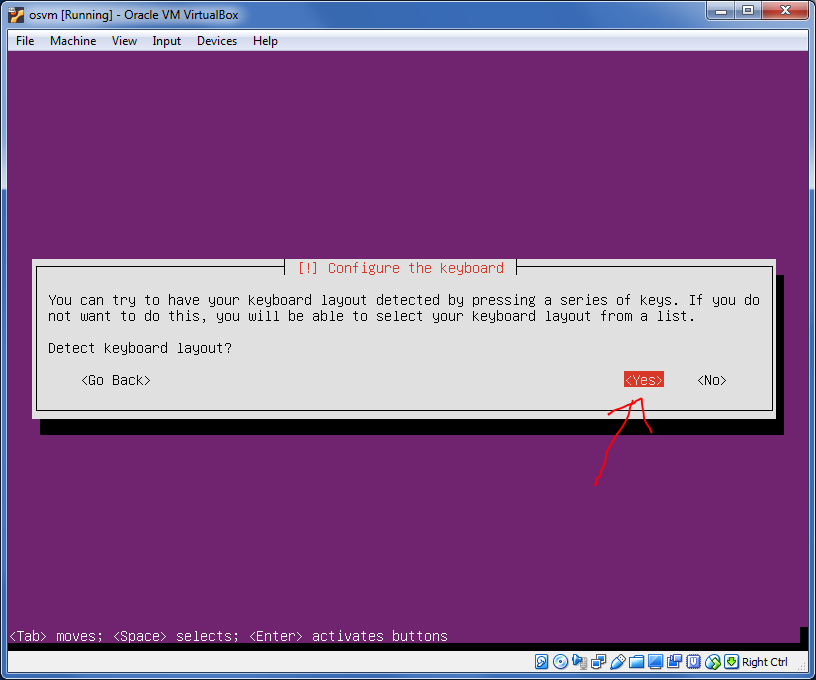
26. Use tab to move between the buttons, select as shown, then press Enter.
Follow the instructions.
|
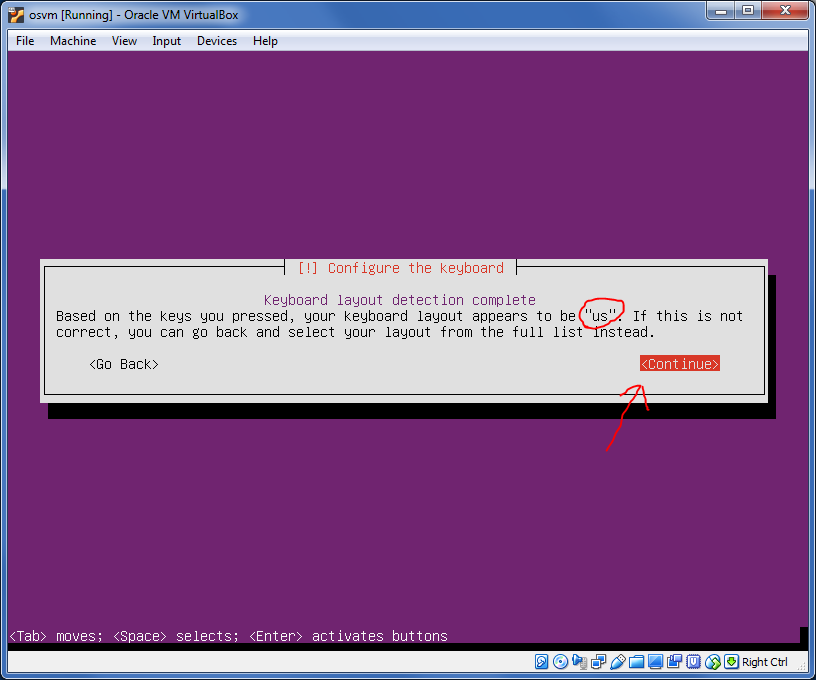
27. Once done, the keyboard layout will be detected. Mine is "us", yours may
differ. Use Tab to select the Continue button, then press Enter.
|
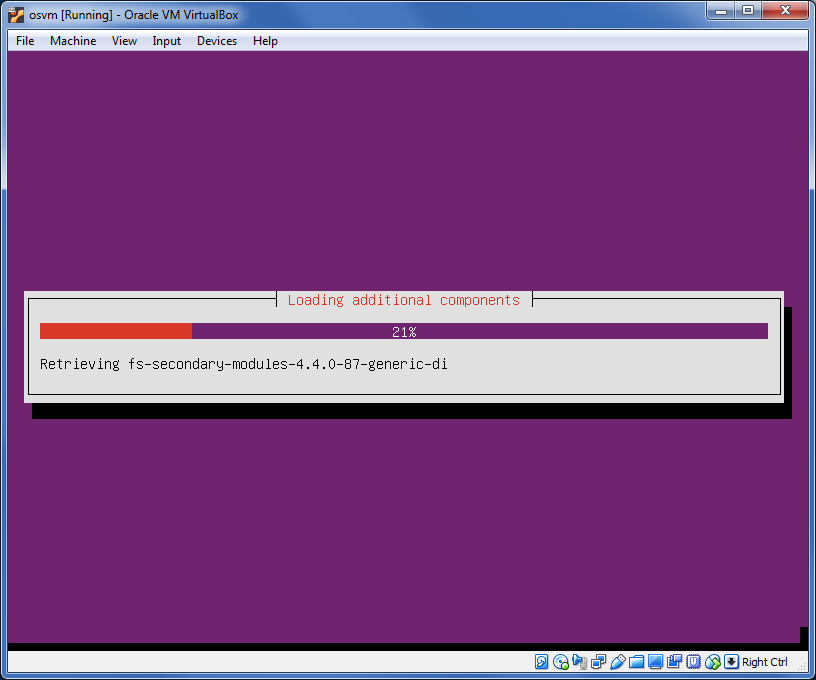
28. Wait ...
|
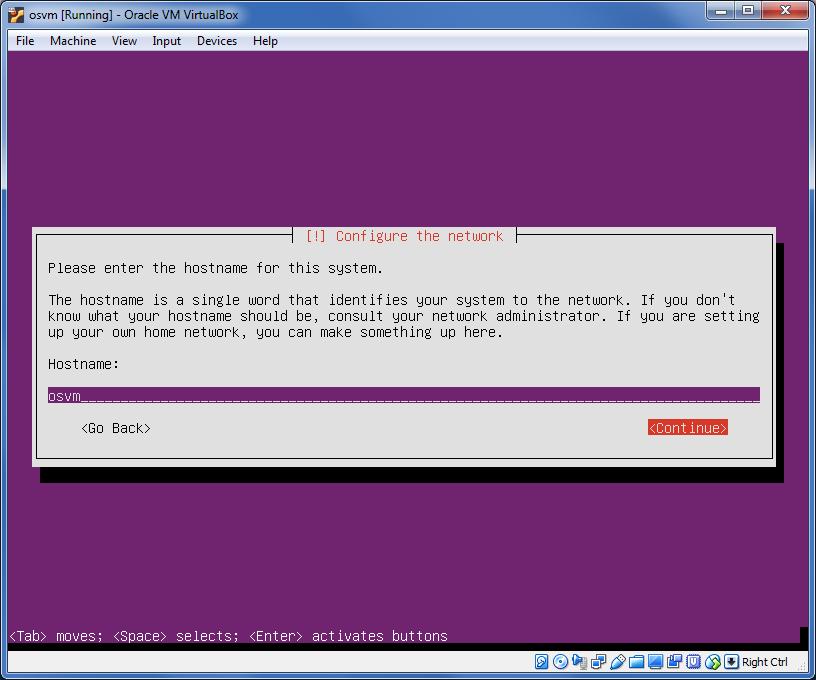
29. Set the hostname as shown, then continue
|
30. Set your full name, then continue (use Tab to navigate between the
controls)

|
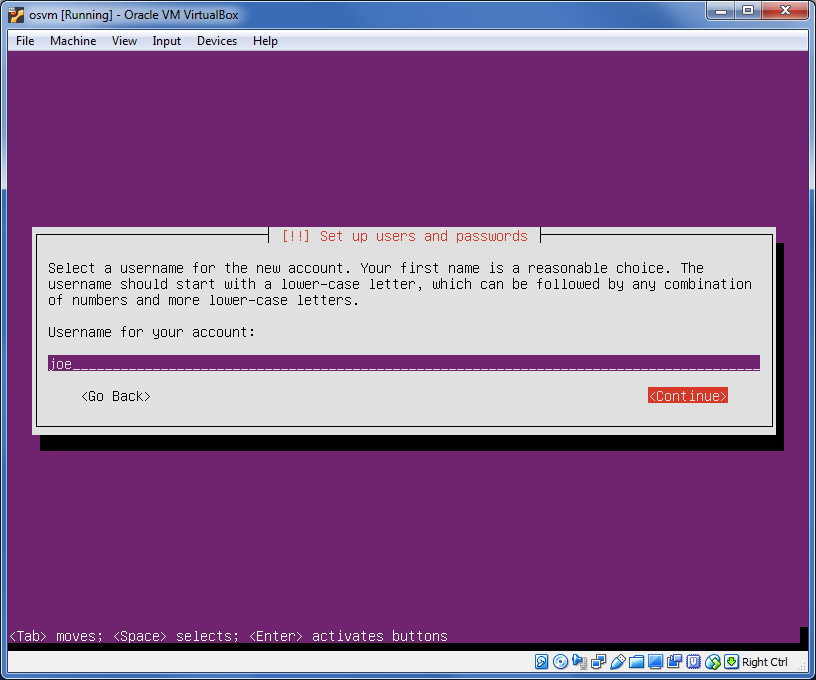
31. Set your username, then continue
|
32. Set your username, then continue
|
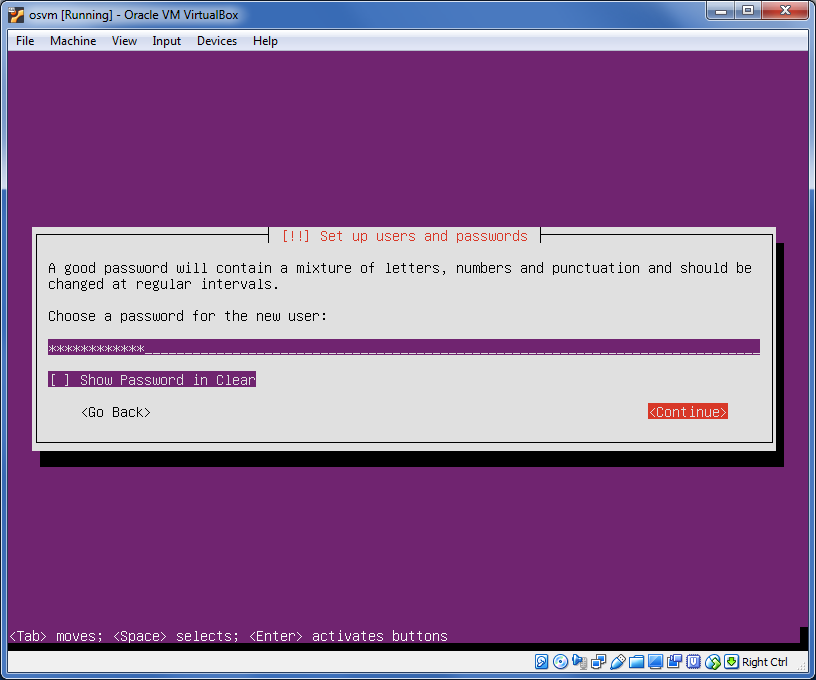
33. Re-enter your username, then continue

|
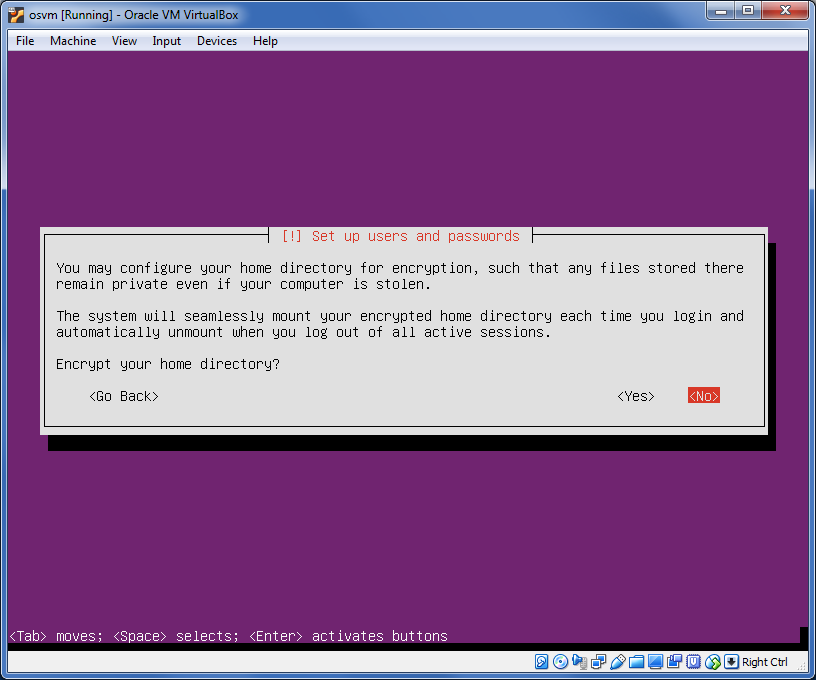
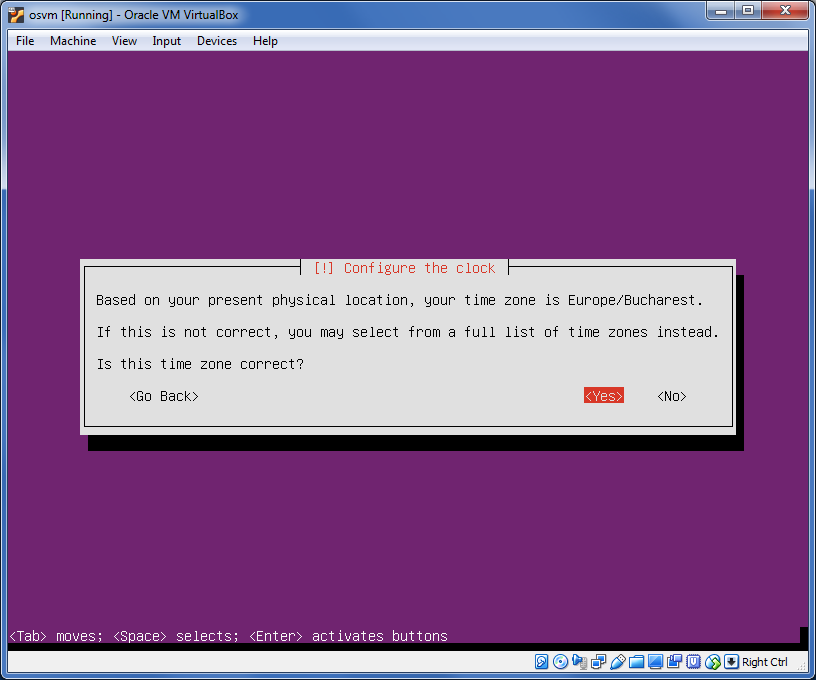
34. Select as shown, then press Enter
|
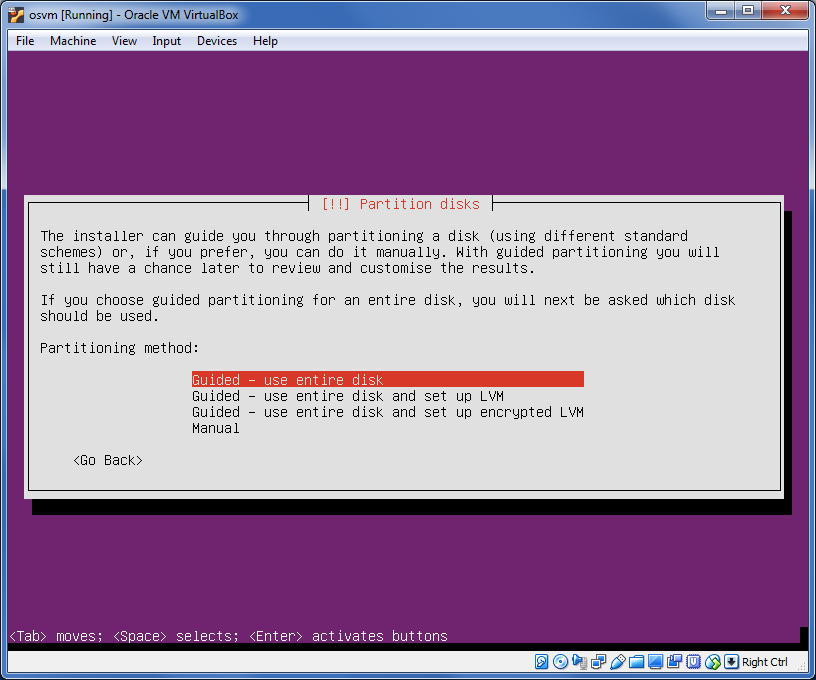
35. Select as shown, then press Enter
|
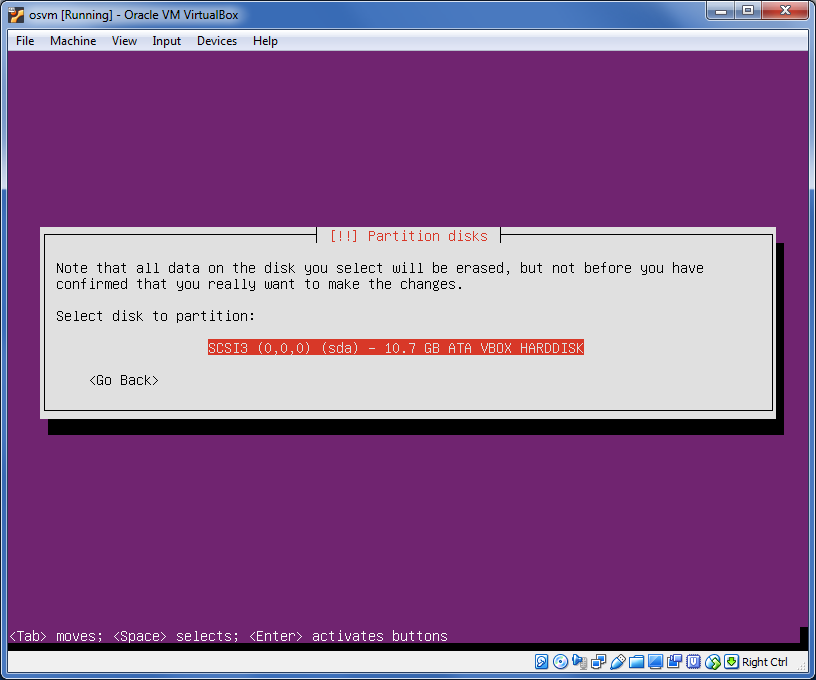
36. Select as shown, then press Enter
|
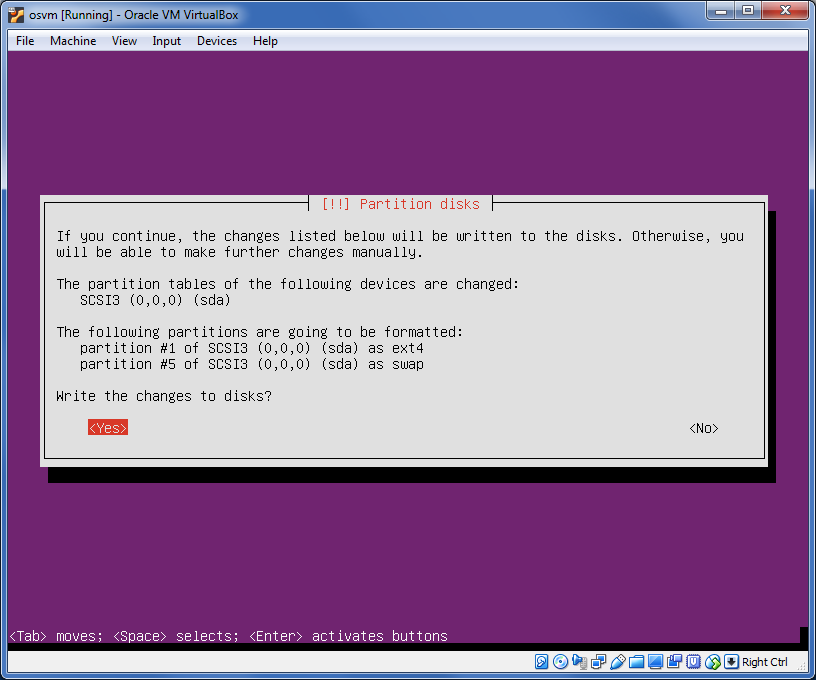
37. Select as shown, then press Enter
|
38. Select as shown, then press Enter
|
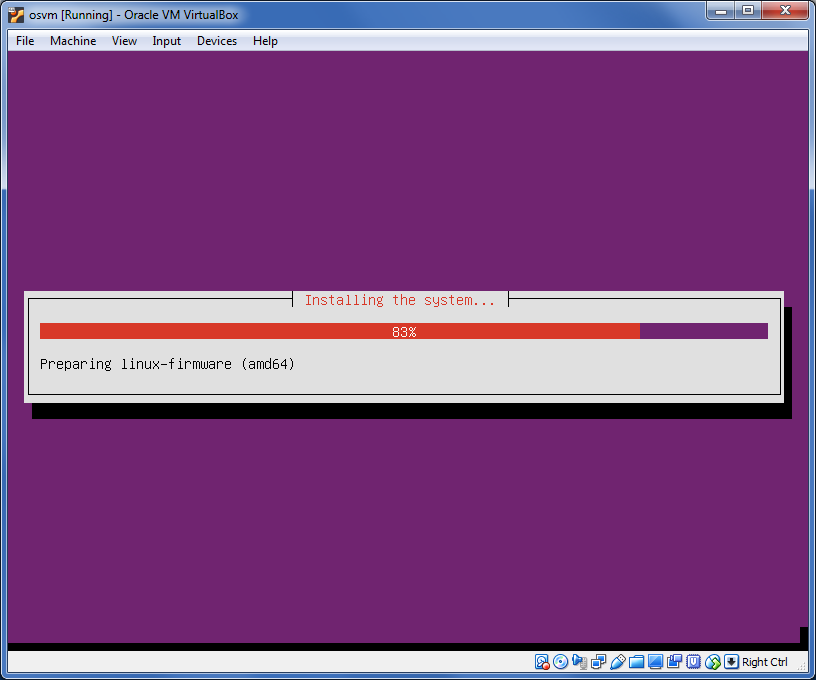
39. Wait ...
|
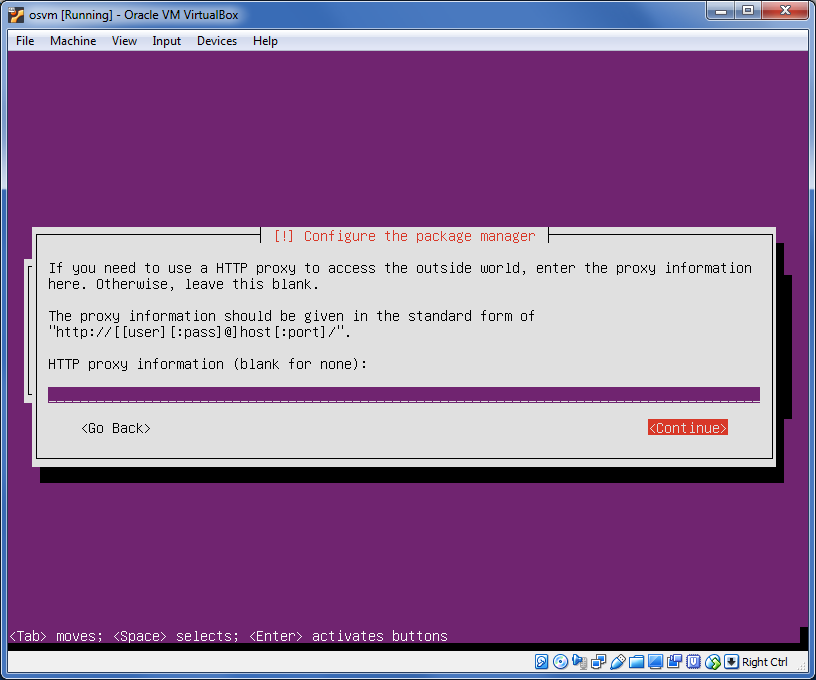
40. Select as shown, then press Enter
|
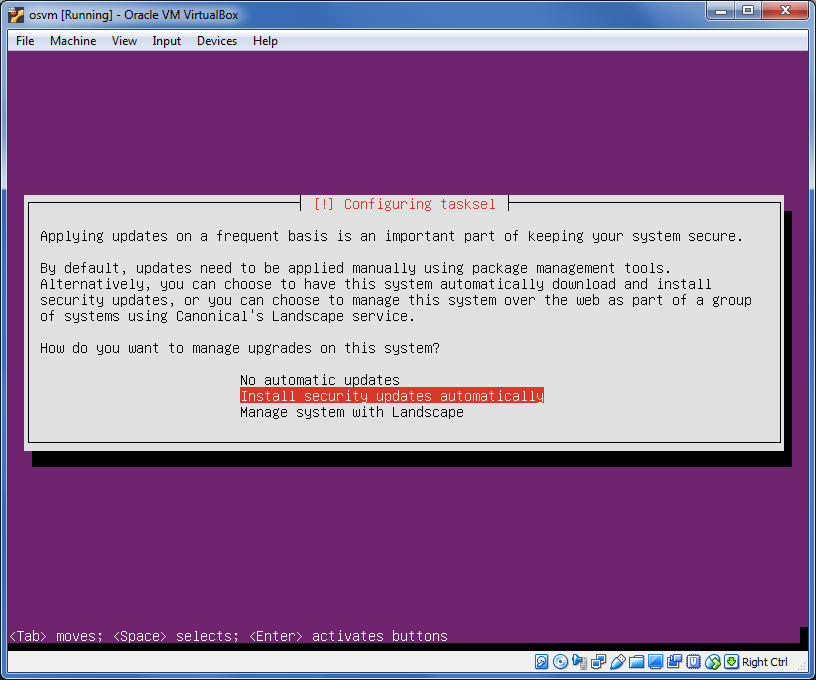
41. Select as shown, then press Enter
|
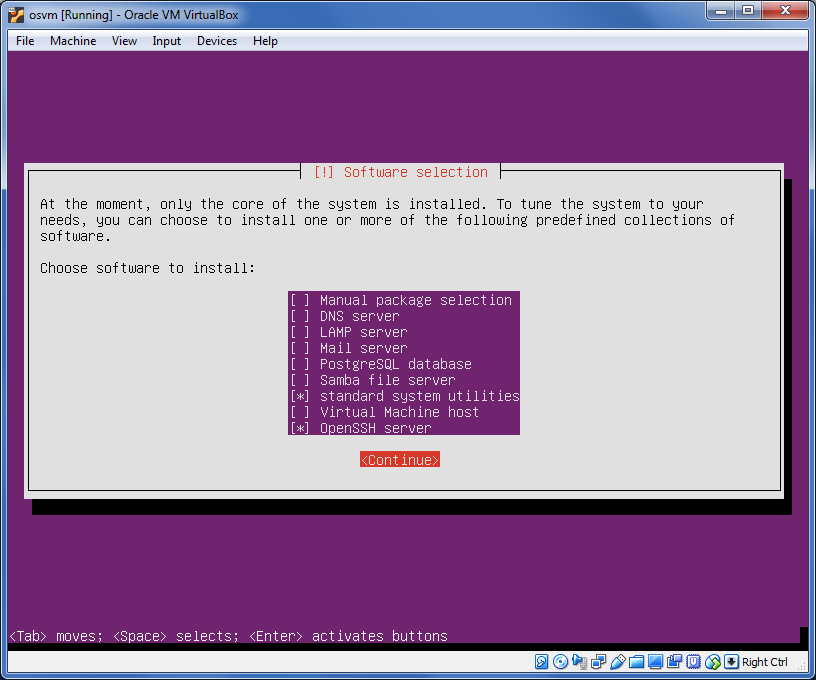
42. Select as shown by rpessing Space to select/unselect options, then press
Enter
|
43. Select as shown, then press Enter
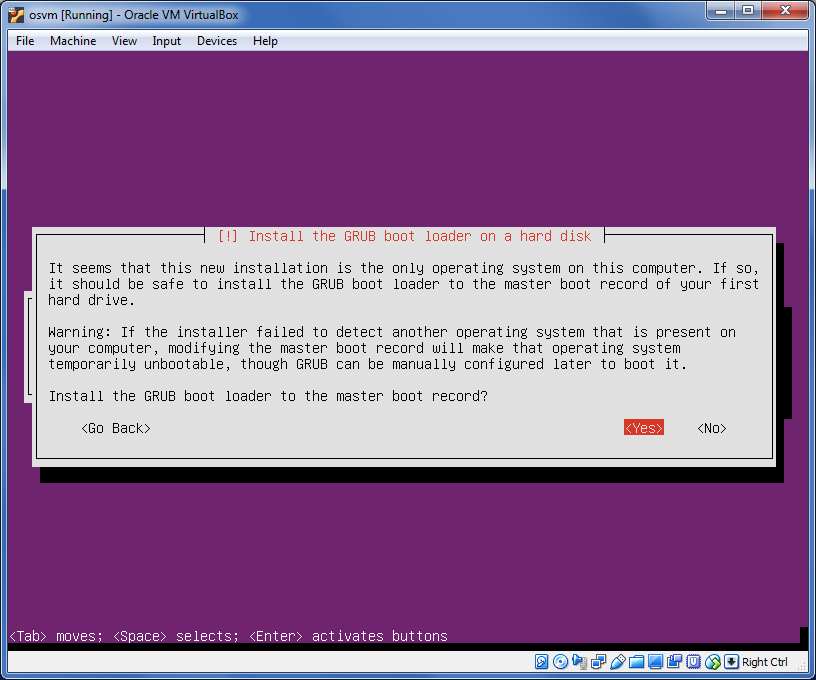
|
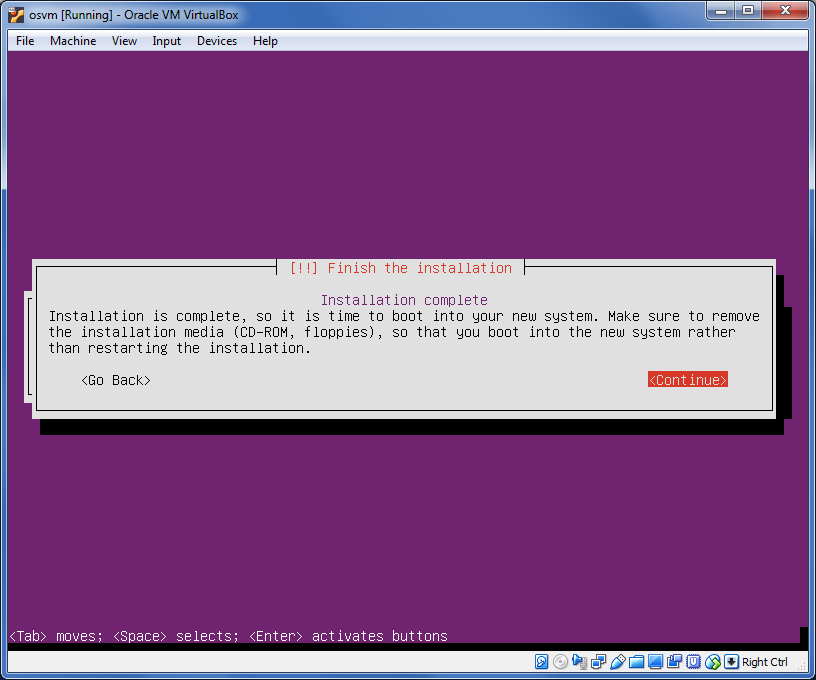
44. Select as shown, then press Enter. This will cause the virtual machine to
reboot.
|
45. Go to the menu and click Devices -> Insert Guest Additions CD
Image...
|
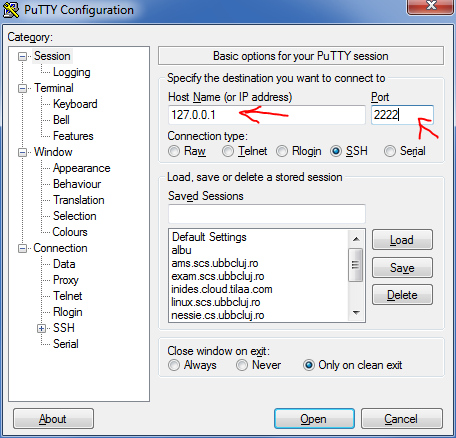
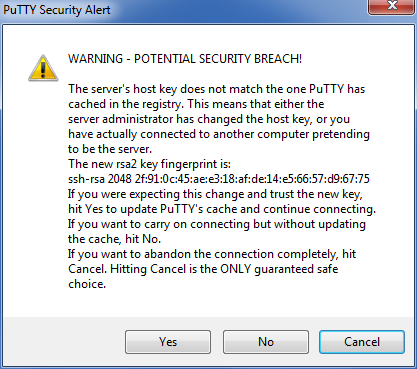
46. Start PuTTY and populate the fields as shown, then click "Open"
|
47. Click Yes
|
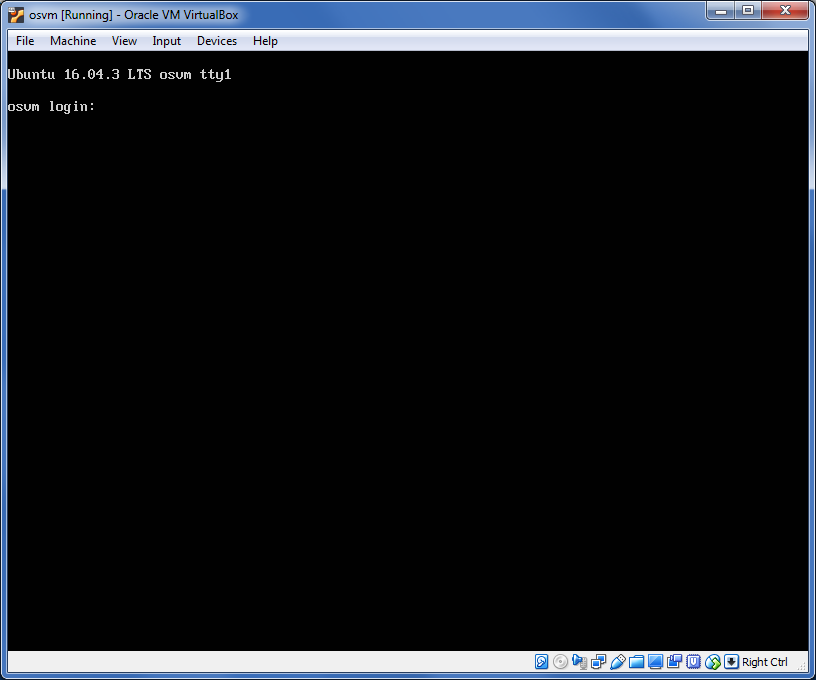
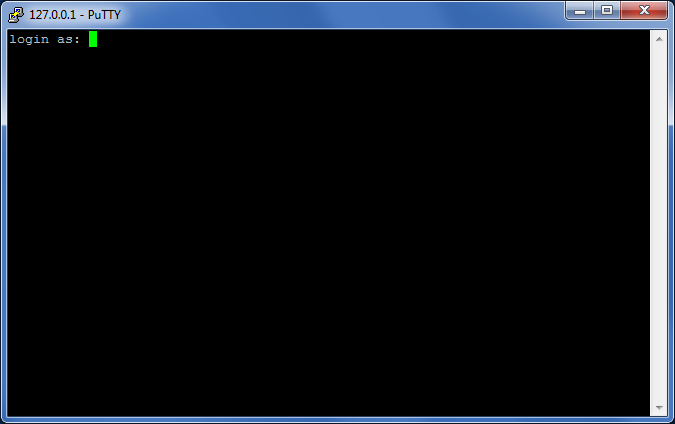
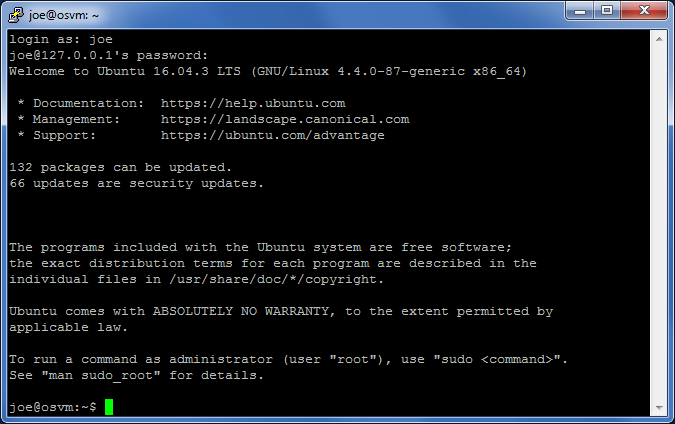
48. Type in your username, then press Enter, then your password, then press
Enter. When you type your password, it will seem that nothing happens. Don't worry about it, just type it,
and press Enter
|
49. Now you are logged in.
|
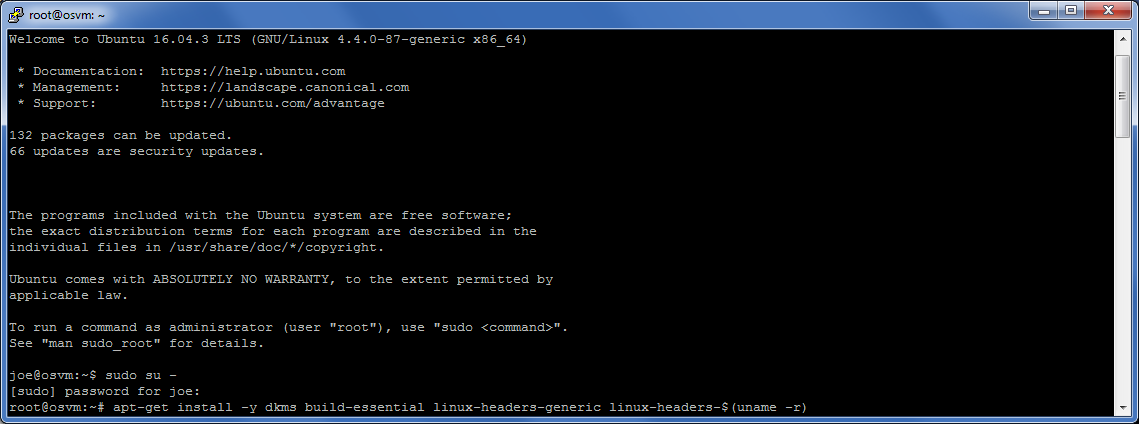
50.
- Type command sudo su -, press Enter, enter your password, press Enter
again. Now you entered the superuser account.
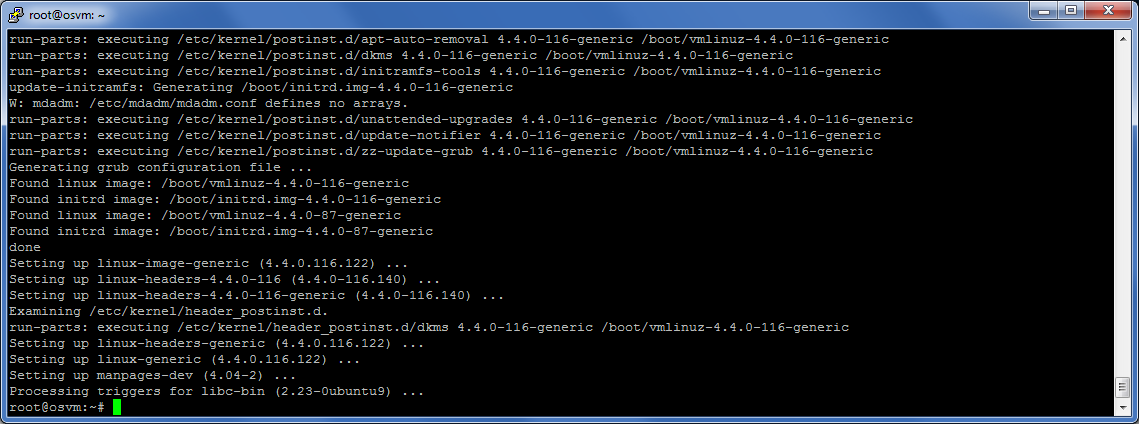
- Now run the command apt-get install -y dkms build-essential linux-headers-generic linux-headers-$(uname -r).
It is easier to copy it from here and paste it in PuTTY using right-click.
|
51. Wait until it finishes ...
|
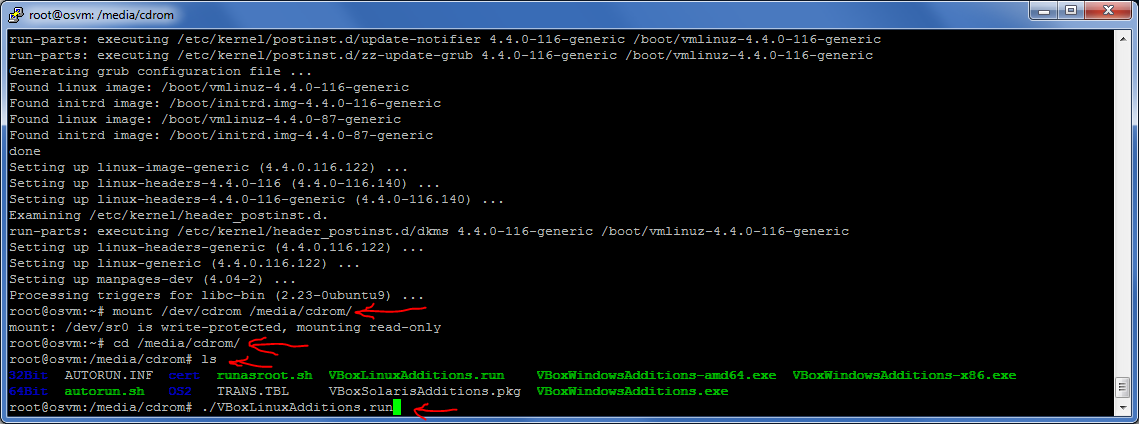
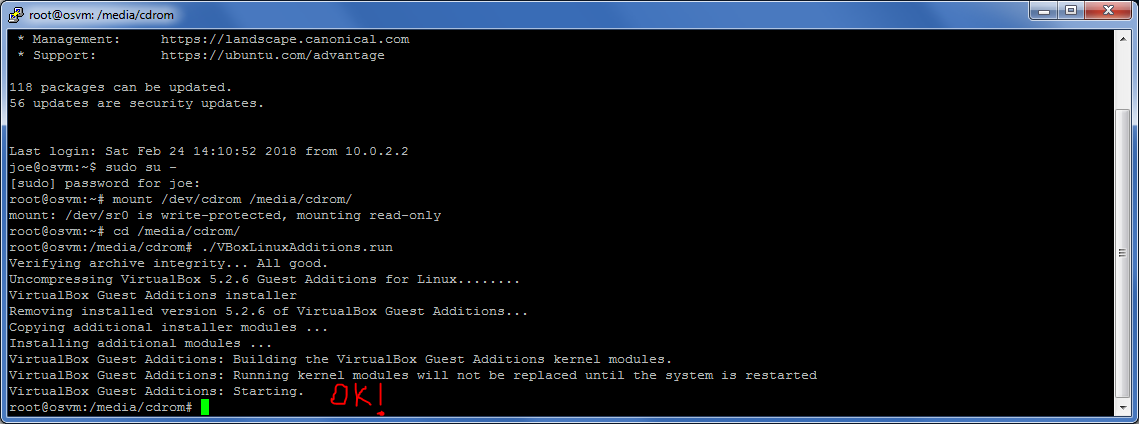
52.
- Mount the CD inserted earlier through VirtualBox by running the command mount /dev/cdrom /media/cdrom"
- Go to the CD directory using command cd /media/cdrom
- See what is in the directory using command ls.
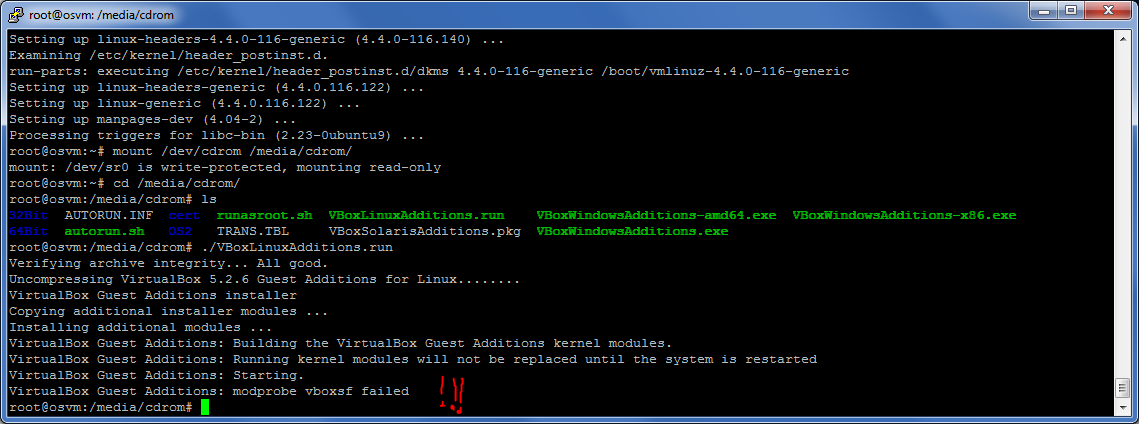
- Install the VirtualBox guest additions by running the command ./VBoxLinuxAdditions.run
|
53. Well ... it fails. This is a bug that has been fixed but it probably
hasn't made it yet in the VirtualBox release. According to others who had this problem, we can work around
it by rebooting the virtual machine.
|
54. So we reboot, using the command reboot. At this
time PuTTY will lose the connection. You will need to wait for the VM to reboot, and then connect with PuTTY
again as you did earlier.

|
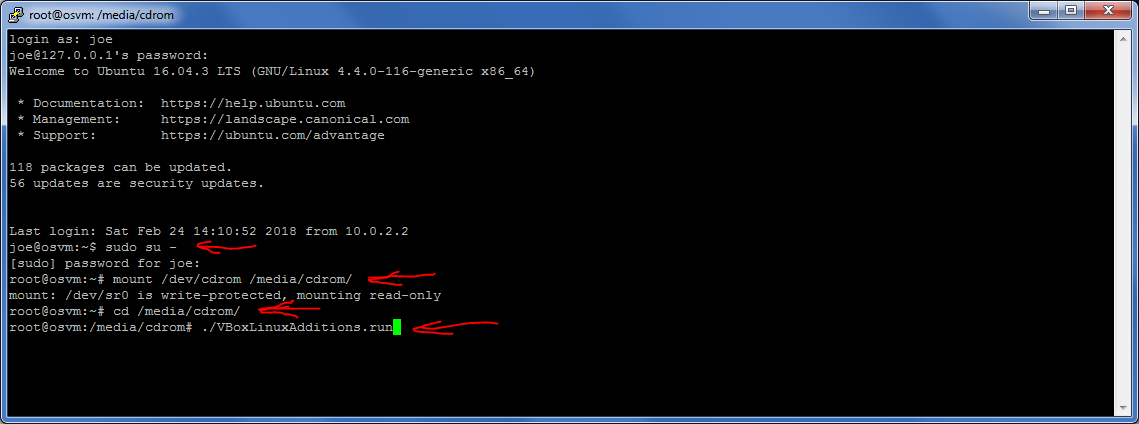
55. So, connect with PuTTY, login, become superuser, mount again the CD, and
run the installer again.
|
56. This time it worked.
|
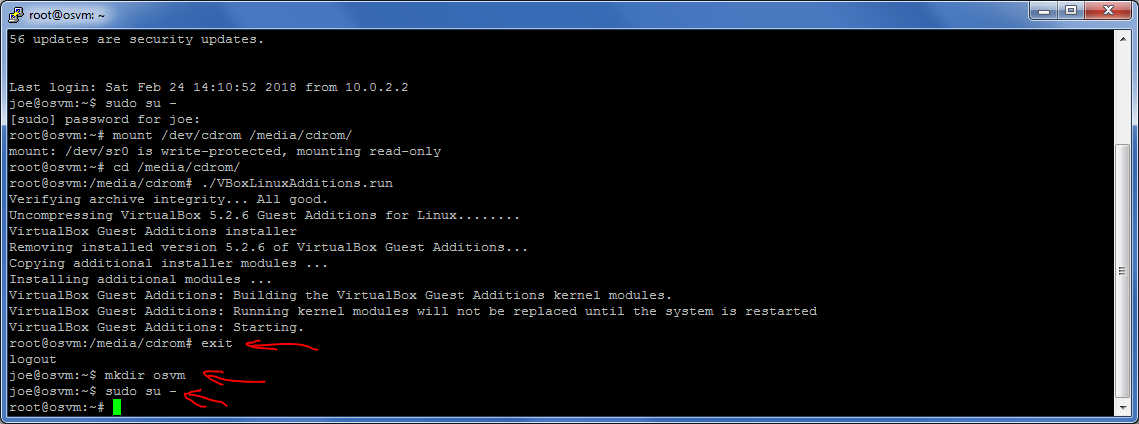
57. Now lets go back to being a regular user, and create the "osvm" directory
in Linux to act as mounting point for our Windows directory created earlier.
- Run command exit
- Run command mkdir osvm to create the directory
- Become superuser again
|
58. We are about to run a command that may cause our VM to fail booting. So
let's go to the VM window, and in the menu click "Machine -> Take snapshot -> OK". If the VM does not reboot
after the next steps, you can always revert to this snapshot and try again.
|
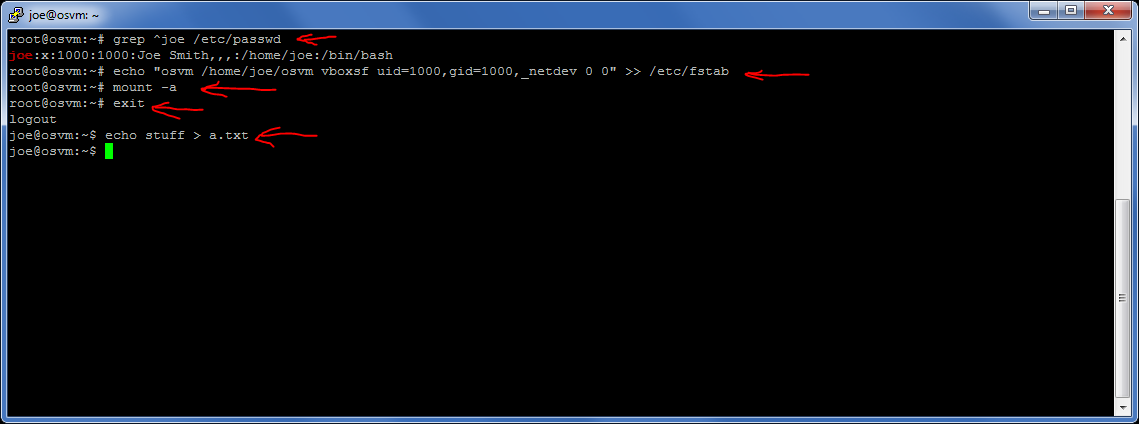
59. We need to get our user's user id (uid) and group id (gid). They should
normally be both 1000, but just to be sure, lets check.
- Run command grep ^joe /etc/passwd. The first number on the line is the
uid, and the second is the gid.
- Run the following command, replacing in it "joe" with your username, and the uid and gid with the
numbers returned by the previous command
- echo "osvm /home/joe/osvm vboxsf uid=1000,gid=1000,_netdev 0 0" >> /etc/fstab.
- Run command mount -a. If this shows any errors, you are in trouble and
need to ask for help. If it says nothing, you are good.
- To check that things work
- Go back to becoming a regular user
- Enter the osvm directory using command cd osvm
- Write something in a file using command echo stuff > a.txt.
- Go back to your Windows directory and make sure that a.txt is there. The content of the osvm
directory is now accessible from both operating systems.
|
|
60. Let's install the rest of the necessary software using command apt-get install -y emacs24-nox valgrind gdb zip unzip manpages-posix manpages-posix-dev
|
61. If you want, you can now updat eyour system using the commands below.
apt-get update
apt-get upgrade -y
|
|
62. You are done. Type "Exit" to become again a regular user, go into the
osvm directory, and enjoy your freshly installed virtual machine.
|